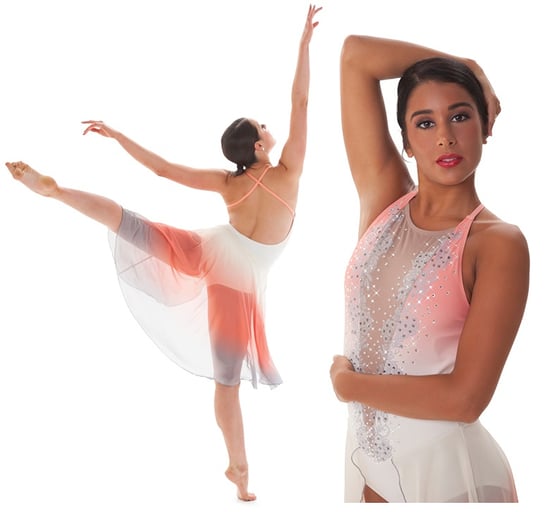
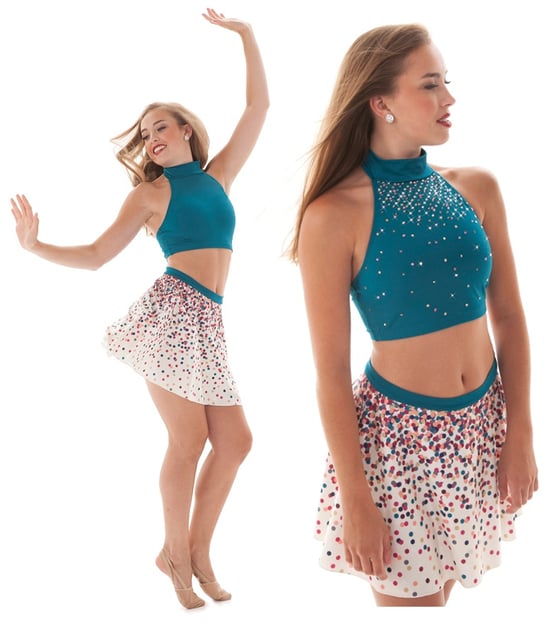
 Rhinestones helped take this Raelyn dance costume to the next level!
The easiest way to transform a costume? With Rhinestones! Stones can add the perfect finishing touch and take a simple costume from boring to stunning!
This labor intensive embellishment, can often be the most expensive part of your dance costume or skating dress if left to the professionals. But it is also the easiest to do yourself!! If you are interested in saving a few dollars, check out our step-by-step instructional video below!
Last week we took a look at how to rhinestone using Hotfix stones, which have the glue pre-applied to the back. This week we'll take a look at rhinestoning a costume using flat back stones, which require the application of glue separately. Follow this tutorial, and you'll get the hang of it in no time!
How to Rhinestone a Dance Costume or Skate Dress: Flat Back Method
What You'll Need:
- Flat back rhinestones
- Strong glue, such as Gem-Tac or E6000
- Glue applicator squeeze bottle or syringe (optional)
- Washable fabric marker or chalk pencil
- Ruler or Tape Measure
- Wax pick-up tool (optional)
- Scrap paper
- Cardboard or other flat surface
Rhinestoning Instructions:
Step 1: Stretch Your Costume Flat
The first step is to prep your costume! Stretch your garment flat over a piece of cardboard or other hard surface. In this video we used a piece of cardboard, but a lunch tray or similar firm surface could also work.
Placing an object underneath the section you will be stoning will ensure that no glue transfers to the other side of your garment, and that stones are flat and won't shift while the glue dries.
Step 2: Layout Your Rhinestone Design
The most phenomenal rhinestone designs start by laying out a pattern on your costume BEFORE gluing. This no-brainer step is the best way to see what will look best on your costume, before permanently committing to a design!
In this tutorial, we are using flat back rhinestones, which have a foil backing, without glue. Using seperate glue with Hotfix rhinestones also works well!
Step 3: Mark the Rhinestone Placement
Mark your garment where you want the rhinestones to be placed. A ruler or tape measure is useful to maintain consistent spacing.
Use a washable fabric marker for light color fabrics, or a chalk pencil for darker colored fabrics. These tools can be found at your local craft or fabric store, like Michaels or JoAnn Fabrics. Avoid permanent pens or markers! Even though you will be covering your markings with rhinestones, you never know when an accident might occur!
Step 4: Prep Your Worksurface
Working with glue is bound to get messy, so we recommend covering your work surface with scrap paper or extra cardboard. This will give you a place to put glue bottles and to catch any extra glue drips.
Step 5: Prep Your Glue Applicator
Always use the strongest glue you can find - not all glue will be strong enough to keep stones adhered to your costume during a performance! We recommend only using Gem-Tac or E-6000 glue for the strongest hold. Both are easy to use, but be warned that E-6000 has strong fumes that are not suitable for everyone - be sure to use it in a well ventilated space!
Next, you'll need to fill up your glue applicator with your selected glue. A glue applicator, should you choose to use one, allows for a more precise and less messy application process. Which applicator tool you use will depend on the type of glue you are using.
- For Gem-Tac - an accordion bottle with a fine tip (like shown in the video) is best.
- For E-6000 - a syringe is recommended. Or, placing a small amount of glue onto a scrap paper and applying with the round end of a quilting pin is an alternate method that doesn't require a syringe!

Step 6: Add Glue to Your Markings
Add a small drop of glue to the placement markings. The right amount of glue is critical – too much, and you will have extra glue marks. Too little, and the stone won’t adhere properly. Practice on a scrap paper first. Know that both types of glue drys clear, to your advantage!
Step 7: Add Stones
Add stones to your glue drops. Try to apply only 10 drops of glue at a time so that stones can be placed before the glue dries. A tool with a wax tip, like the Pick N Stick shown in the video, can help you pick up the small stones, requiring only the gentlest touch. But your fingers can work just as well! Gently press the rhinestone into place to ensure contact with the glue.
Step 8: Let Dry Flat for 24 Hours
Stone one side of garment and let it dry for 24 hours. This will ensure the stones don't shift and glue doesn't accidentally transfer to other parts of your dance costume or skate dress. After the first side is dry, stone the other side and again let it dry for 24 hours.
Step 9: Keep Going! Use One Sample As A Guide
After you've finished one costume and it has dried completely, remove any chalk or marker placement marks with a damp rag. Take a peek at your costume from a distance to get the full effect, and make any adjustments as needed!
Use your first rhinestoned garment as a guide for rhinestoning the rest of your team's costumes. This will help keep things consistent! Another trick to keep things uniform? Count out all the stones before you start each dance costume or skate dress, so that you are using the right amount. There's nothing worse than using more stones that expected and going over budget!
Now that one it done, it's time to grab your teammates, your favorite DVD box set, and make a night of it! Rhinestoning a skate dress or dance costume is a labor intensive task, but many hands make light work!
Once you master the technique, rhinestoning your own dancewear or skatewear will be a skill you can reuse again and again, and lead to a lot of savings!

 Rhinestones helped take this
